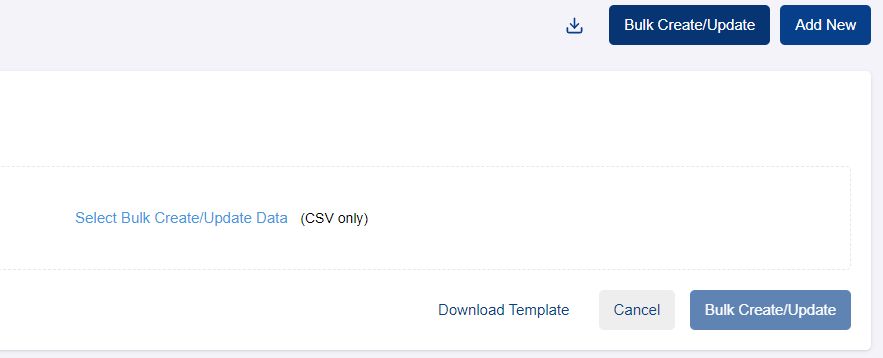
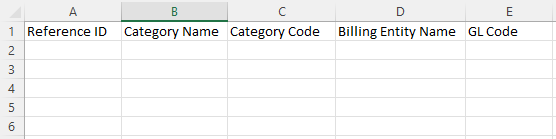
Click ’Select Bulk Create/Update Data’ to upload your CSV File into ADAM. Once the file has been uploaded, click ‘Bulk Create/Update’
Note: If any compulsory columns are incomplete, or if the data is incorrect, the system will prompt a message highlighting the specific product line and error type.
Set up Prohibited Categories
Note : Upon acknowledge the warning message, requestors can still submit the payment service under prohibited category.
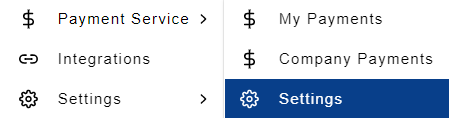
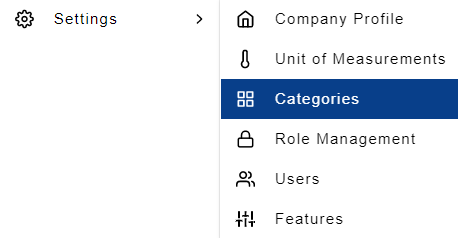
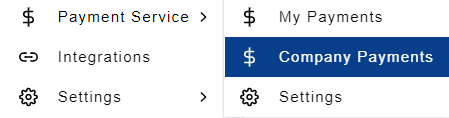
Step 1: Under ‘Payment Service’, click ‘Settings’
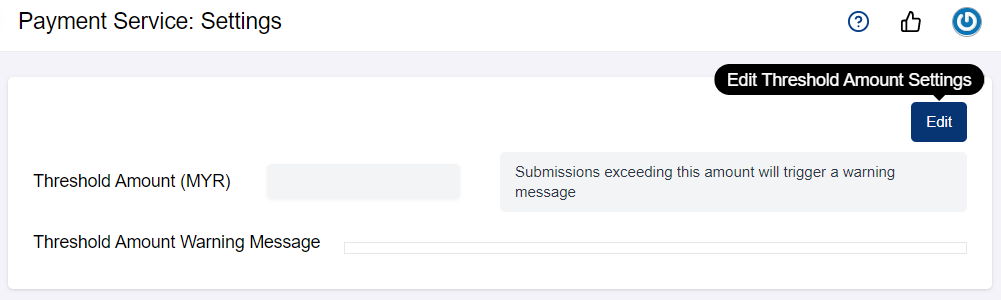
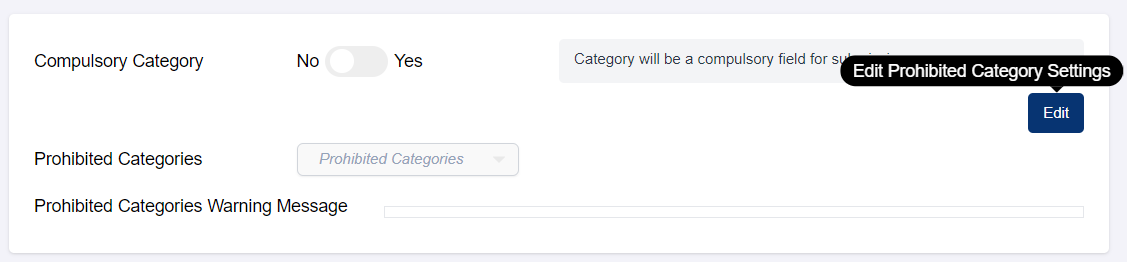
Step 2: Click 'Edit'
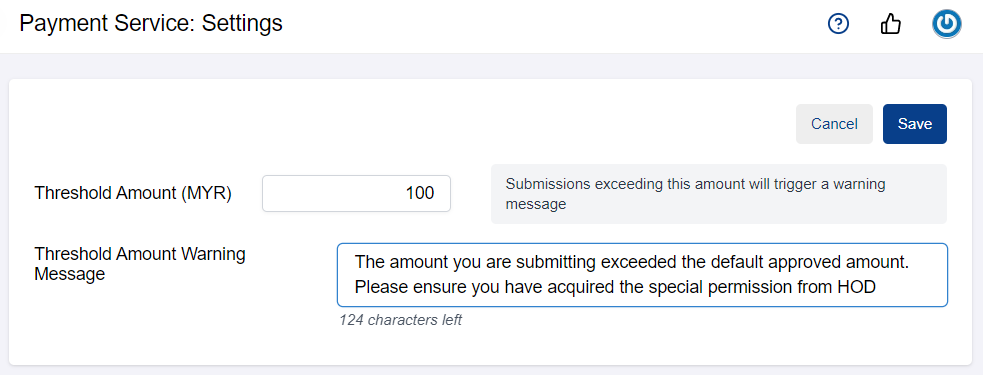
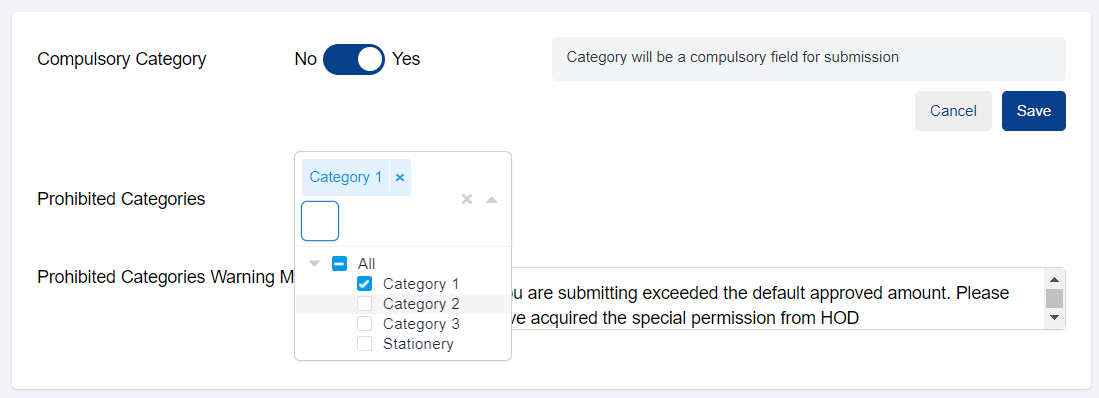
Step 3: Set Up Prohibited Category & Warning Message
Toggle on to make ‘Category’ as compulsory field in the payment service submission form.
Select categories that is prohibited and input the warning message to requestors if the requested payment fall under prohibited category. Then, click ‘Save’
If payment service fall under prohibited category, the warning message will appears on the form and requestors required to acknowledge before submission.
View & Download Payment Service CSV
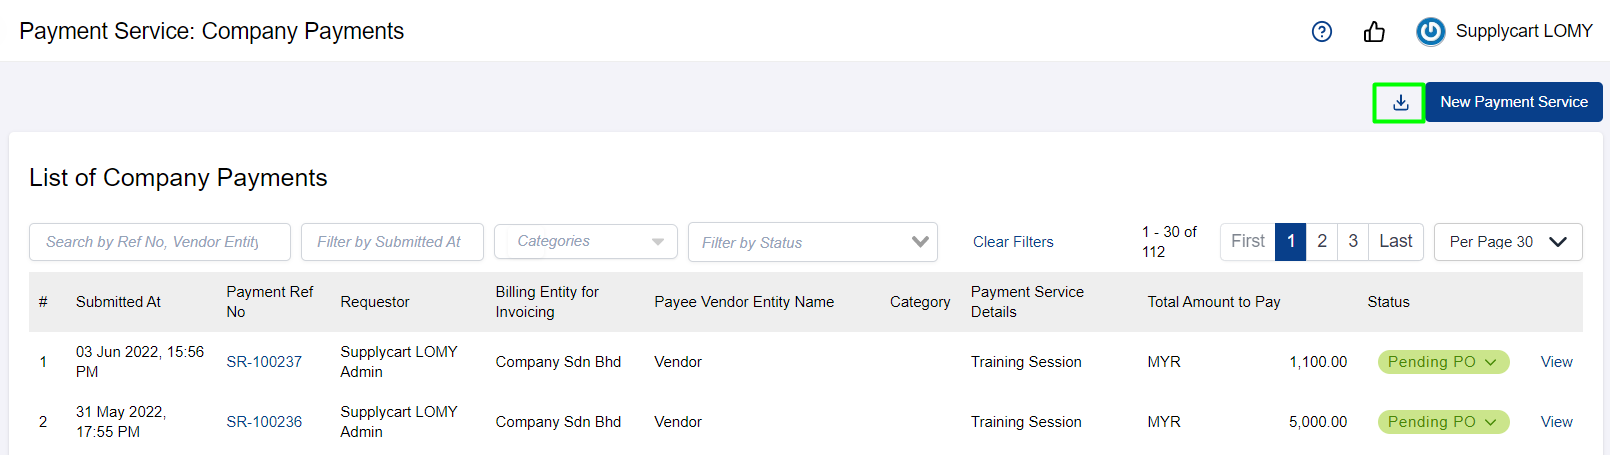
Step 1: Under ‘Payment Service’, click ‘Company Payments’
All payment service submitted in ADAM are listed in this page. You may search by input Reference Number , Vendor Entity Name, Requestor, Product/Service Detail in the search bar. Alternatively, you may also filter by submission date, categories and status.
Step 2: Download the Payment Service CSV
The filtered entries will be download into an Payment Service CSV