Step 3: Configure the type of data for ADAM to import from Unleashed
Initiate connection with Quickbooks
ADAM is able to integrate with Unleashed’s modules. To begin your setup, you will need to first connect ADAM with Unleashed, then configure the modules that ADAM is to integrate into.
Activating the ADAM and Unleashed Integrations
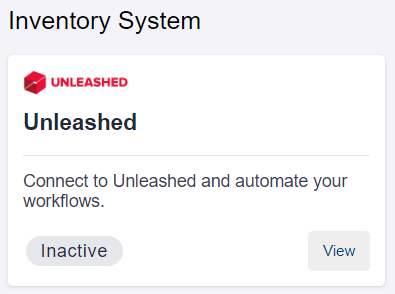
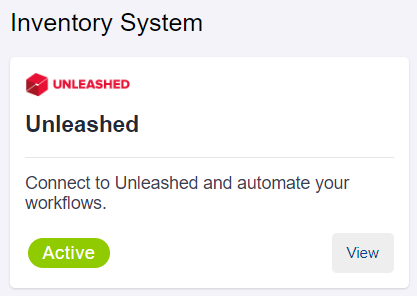
Step 1: Go to ‘Integrations’ and ‘View’ Unleashed
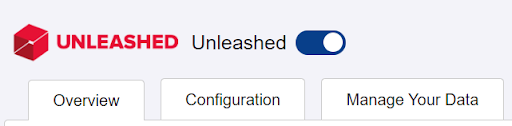
Step 2: Toggle On to enable Unleashed Integration on ADAM
Copying Unleashed API Credentials
This section will cover how to copy Unleashed API ID and API Key. Both credentials are required by ADAM to complete the integration
Note: Only the Unleashed account owner will be able to acquire the credentials
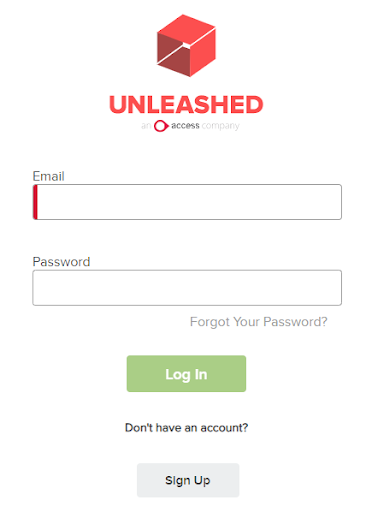
Step 1: Log into Unleashed
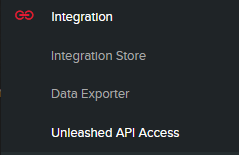
Step 2: Under Integration, click ‘Unleashed API Access’
Step 3: Copy the ‘API ID’ and ‘API Key’
Establishing the ADAM <> Unleashed Connection
This section will cover how to establish ADAM and Unleashed integration by pasting the Unleashed API credentials you have copied.
Step 1: Go to ‘Integrations’ and ‘View’ Unleashed
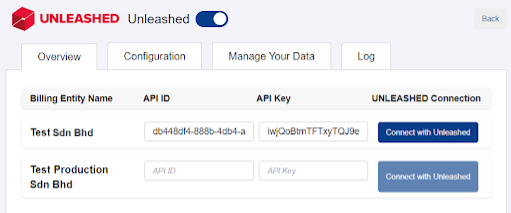
Step 2: Paste ‘API ID’ & ‘API Key’ from Unleashed
Paste the credentials at the relevant billing entity
Step 3: Click ‘ Connect with Unleashed’
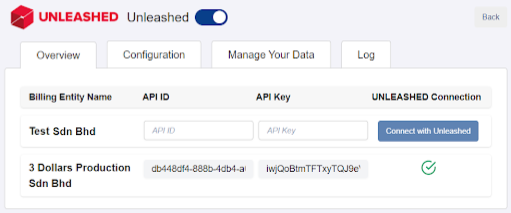
Upon successful connection, ADAM will show that the entity is linked to Unleashed.
Note : ADAM ‘Billing Entity Name’ must match Unleashed’s ‘Company Name’ in order for the integration to take place
Step 4: Repeat all previous steps for all Billing Entities in ADAM that are to be linked to Unleashed
Managing Integration Data
This section will cover how to configure and manage imported data from Unleashed to ADAM.
Step 1: Go to ‘Integrations’ and ‘View’ Unleashed
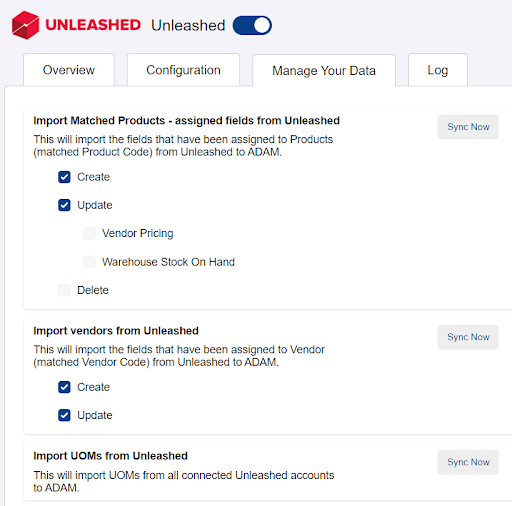
Step 2: Click on ‘Manage Your Data’ tab
Step 3: Configure the type of data for ADAM to import from Unleashed
Click on the checkbox to enable/ disable relevant actions on imported data. At this tab, you can click on the “Sync Now” to update ADAMs data with Unleashed’s most recent data.