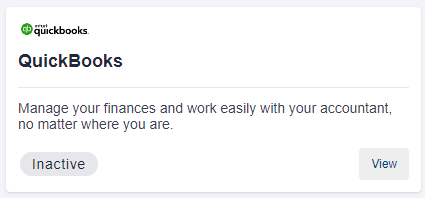
Step 1: Go to ‘Integrations’ and ‘View’ Quickbooks
Step 2: Click on ‘Manage Your Data’ tab
Initiate connection with Quickbooks
ADAM is able to integrate with Quickbooks’s Bills Module. To begin your setup, you will need to first connect ADAM with Quickbooks, then configure the modules that ADAM is to integrate into.
Activating the ADAM and Quickbooks Integrations
Step 1: Go to ‘Integrations’ and ‘View’ Quickbooks
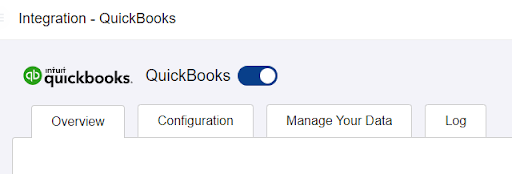
Step 2: Toggle On to enable Quickbooks Integration on ADAM
Establishing the ADAM <> Quickbooks Connection
Step 1: Go to ‘Integrations’ and ‘View’ Quickbooks
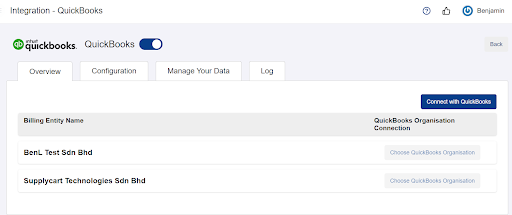
Step 2: Click on ‘Connect with Quickbooks’
This will take you to the Quickbooks Login page to connect your Quickbooks Organisation.
Step 3: Log in to Quickbooks
Step 4: Select your Quickbooks Company Name to connect to ADAM
Click on your Company’s name to connect your ADAM Account to Quickbooks, then click ‘Next’
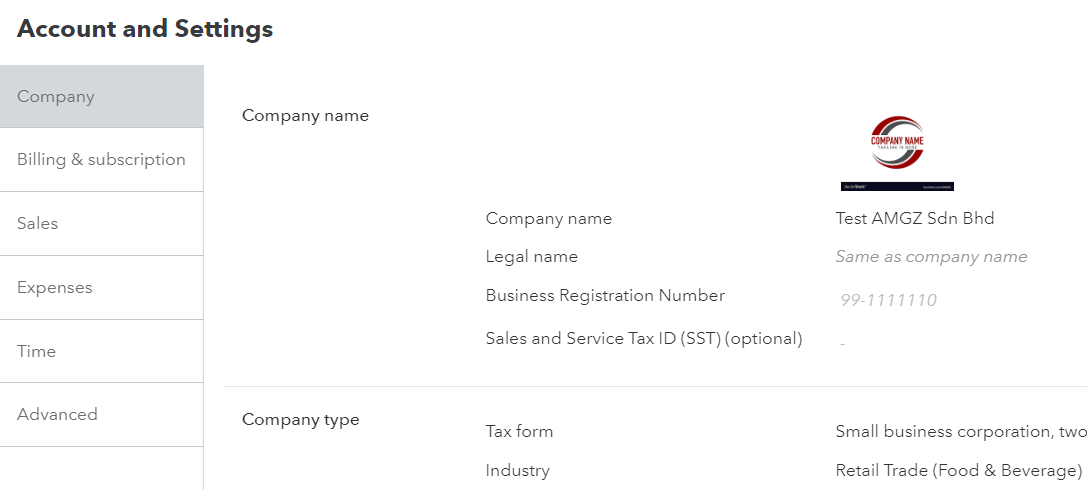
Note : ADAM ‘Billing Entity Name’ must match Quickbooks’s Legal Entity Name in order for the integration to take place
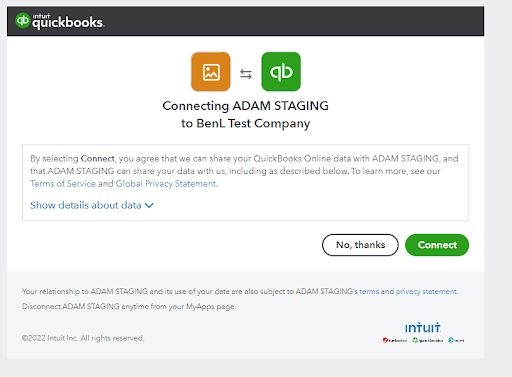
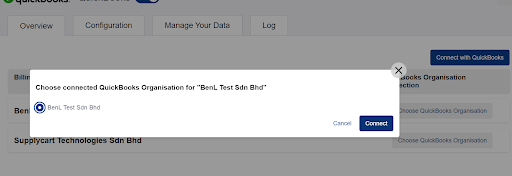
Step 5: Confirm the connection of ADAM to Quickbooks
Click on ‘Connect’ to connect ADAM to Quickbooks
Connecting your Billing Entities into Quickbooks
Step 1: Go to ‘Integrations’ and ‘View’ Quickbooks
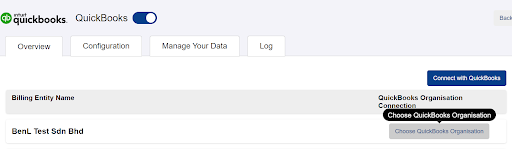
Step 2: At the relevant billing entity, click on ‘Choose Quickbooks Organisation’
Choose the correct organisation name and click ‘Connect’
Note: ADAM ‘Billing Entity Name’ must match Quickbooks’s Organisation Name in order for the integration to take place
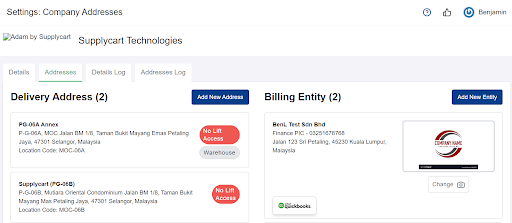
Upon successful connection, ADAM will show that the entity is linked to Quickbooks at the Integration page as well as the Company Profile Page
Note: the ADAM ‘Billing Entity Name’ will not be able to be changed once ADAM and Quickbooks are integrated
Step 3: Repeat all previous steps for all Billing Entities in ADAM that are to be linked to Quickbooks
Configuring your Integration
Step 1: Go to ‘Integrations’ and ‘View’ Quickbooks
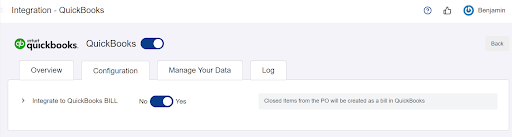
Step 2: Click on ‘Configuration’ tab
Step 3: Specify the modules for ADAM to integrate into
Toggle each integration type “on” to connect ADAM’s PO module with Quickbooks’s Bill module.
Managing Integration Data
Once the entities have been connected and the integration has been configured, you can sync ADAM’s data from Quickbooks
Step 1: Go to ‘Integrations’ and ‘View’ Quickbooks
Step 2: Click on ‘Manage Your Data’ tab
At this tab, you can click on the “Sync Now” to update ADAMs data with Quickbooks’s most recent data.
Note:
1. Upon Connection, ADAM’s GL Codes, Tax Rates & Inventory Product GL Codes will be locked as they will be taken from Quickbooks.
2. For Products with Product Codes in ADAM that have corresponding Item Codes in Quickbooks, you will be required to ensure that the Product Type on ADAM matches the Product Type in Quickbooks.