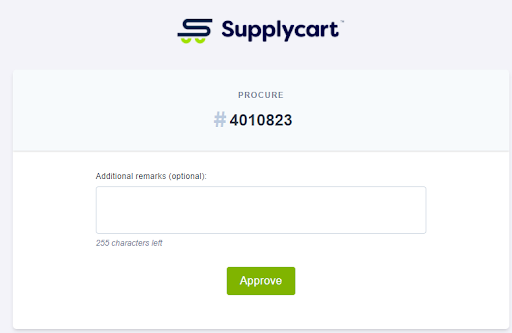
This will redirect you to a page to approve the submission. Click on ‘Approve’ to confirm approval of the Submission
Note: You may also input any comments at this page.
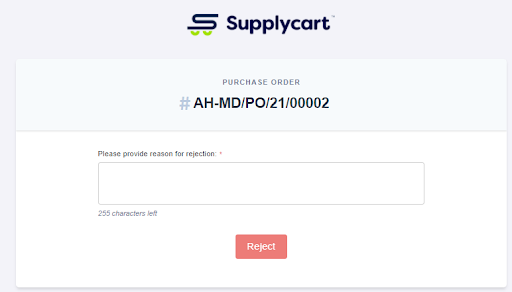
Step 2b: To reject this Request , click ‘Reject’
This will redirect you to a page to input the reason for rejecting the requisition. Once this has been done, you may click ‘Reject’ to complete the rejection.
Approve or Reject via ADAM
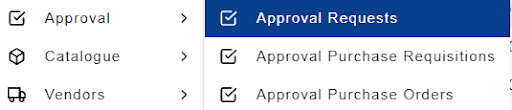
Step 1: Select the type of Approval from ADAM
Under Approvals, click on the relevant submission type to approve
Note: The display on this page will be based on the Approval Modules that have been activated
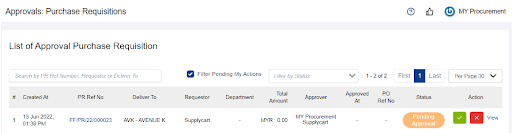
Step 2: Approve or Reject directly from the Approval List page
Or click ‘View’ to review the details of the individual request.
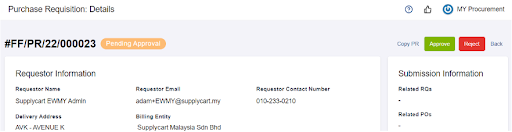
Step 3: Review from within the Submission Details page
See all details that have been input by the user. Click ‘Approve’ or ‘Reject’
Note: For Rejections, you must input a reason for rejecting the requisition. Once this has been done, you may proceed to complete the rejection.
Out of Office
Should you ever be Out of Office, you may nominate relief approvers on ADAM
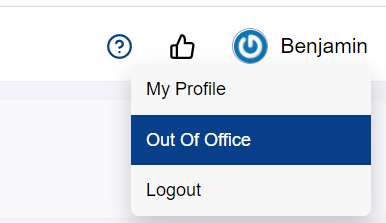
Step 1: Select Out of Office at your Username
This will display the Out of Office maintenance window
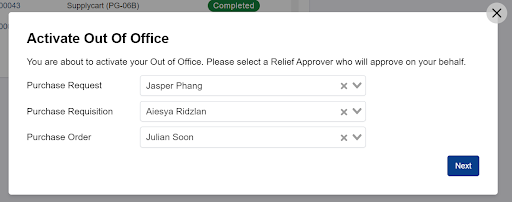
Step 2: Nominate your relief approvers at each form type
The selected person will approve on your behalf for all submissions with this form
Note: You are unable to proceed with this step if you are currently nominated as a Relief Approver by someone else in your organisation. Please contact your ADAM Administrator
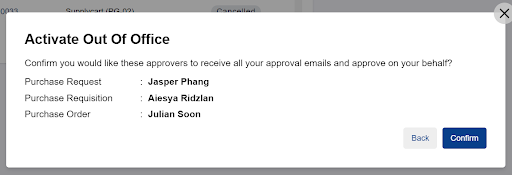
Step 3: Confirm your Relief Approvers
Click on ‘Confirm’ to set yourself as Out of Office
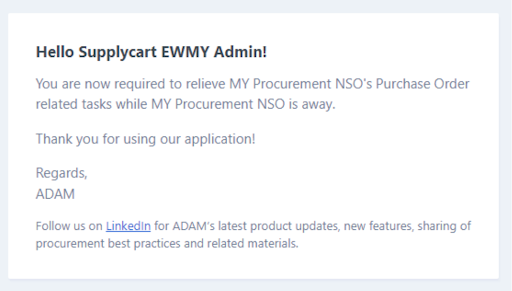
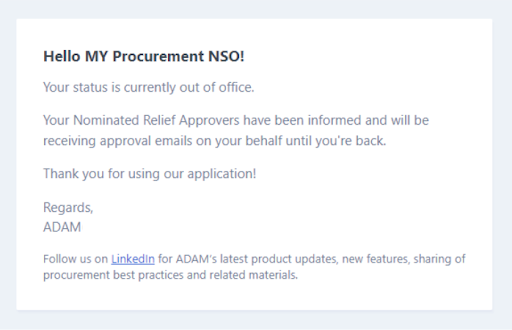
Each Relief Approver will receive an email to inform them that they have been nominated as your relief approver
Each Relief Approver will receive an email to inform them that they have been nominated as your relief approver
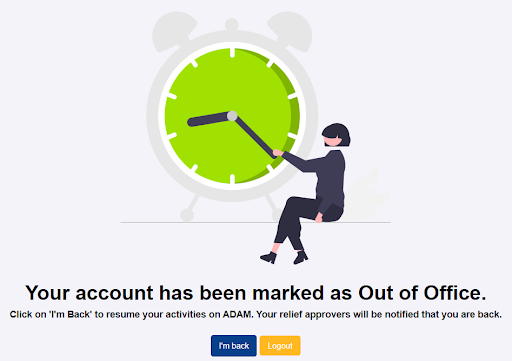
Step 4: Coming Back into Office
The next time you login into ADAM, you will be prompted with a message to confirm that you are back to the office. Click on ‘I’m Back’ to continue your approval activities, and re-open access to other ADAM modules
Approval Logs
For every submission, all approval activities are logged in ADAM. You may view this at each submission’s Detail page, and the corresponding PDF.
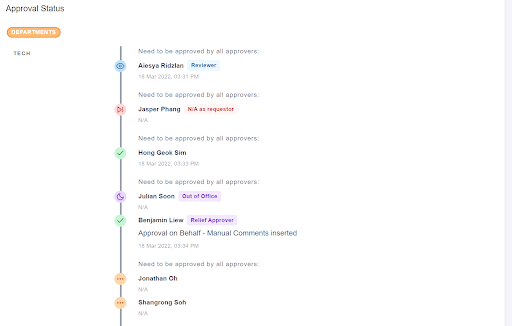
Approval Logs in the Submission Details
At the Submission Detail page, refer to the ‘Approval Status’ section to see the details and history of approval activities on the Approval
Approval Logs in the Submission PDF
At the Submission PDF, refer to bottom of the PDF details and history of approval activities on the Approval. Note: Depending on the Submission PDF setup, you may either see all or only the final approver on the PDF
Revisiting Previous Submissions via 'Approval' Page
As an Approver, you can search for previous RQs, PRs, or POs either by the “Approval” pages, or the “Company” pages.
Step 1: Select the relevant submission type via the ‘Approval’ menu
This will bring you to a page showing all submissions that you have been involved in approving
Step 2: De-select the ‘Filter Pending My Actions’ checkbox
This will show all previous submissions that have already been approved or rejected
Step 3: Identify the specific submission by using the Filter and Search functions
The Filter by Status selection will allow you to narrow down your search based on the status of the submission. The Search Bar is able to search for a specific submission if you input any of the following information: 1. Requestor Name 2. Reference Number 3. Delivery Location 4. Submission Remarks (PO Only)
Revisiting Previous Submissions via ‘Company Submission’ pages
Step 1: Select the relevant submission type via the menu, then select the ‘Company’ page
This will bring you to a page showing all submissions for all Billing Entities that are assigned to you
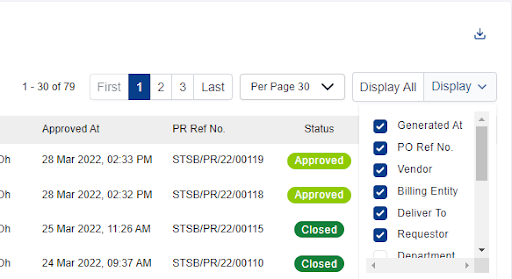
Step 2: Customise the columns displayed
FEATURE: This Display customisation is unique to you as a User, and will not impact the experience of other Users viewing this page
Step 3: Identify the specific submission by using the Filter and Search functions
The Filter by Submission Date selection will allow you to narrow down your search based on the date a requestor placed a submission The Filter by Status selection will allow you to narrow down your search based on the status of the submission The Search Bar is able to search for a specific submission if you input any of the following information: 1. Requestor Name 2. Reference Number 3. Delivery Location 4. Submission Remarks (PO Only) Note: To reset your search, click on “Clear Filters’