Step 1: Access the Dimension’s page as per the section above
Step 2: Click on ‘Bulk Create/Update’
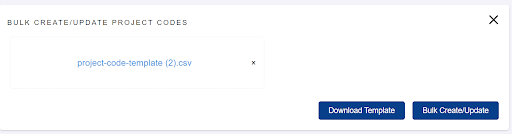
Step 3: Click on ‘Download Template’
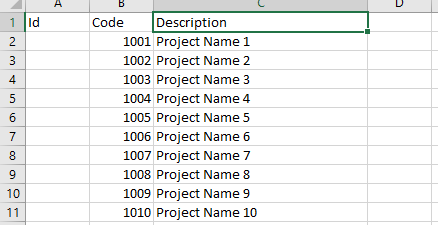
Step 4: Fill up the Template according to the columns shown
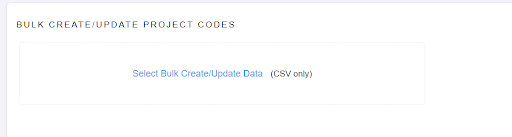
Step 5: Back in ADAM, click on ‘Select Bulk Create/Update Data (CSV only)’
Step 6: Click on ‘Bulk Create/Update’
Dimensions: Overview
ADAM’s Dimensions allows for a deeper level of control and visibility by allocating additional fields that can be used at an item or submission level. Currently, there are five dimensions in ADAM:
Department
GL Code
Cost Center
Project Code
Category
Note that are usually activated during the setup process as per each company’s needs.
This manual will guide you on the general activation, creation, and maintenance of your dimension lists.
Activating Dimensions
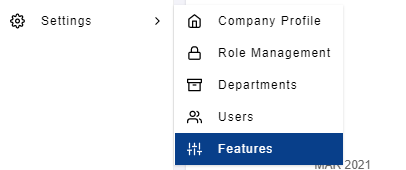
Step 1: At ‘Settings’ select ‘Features’
This will direct you to the Features page for ADAM.
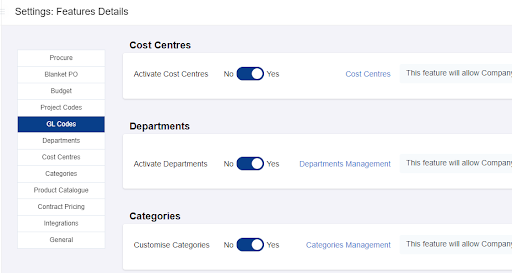
Step 2: Select the relevant Dimension for activation
This will direct you to the individual setting for each Dimension. Toggle the switch to activate the dimension
Note: For GL Codes, you can also assign where the GL code can be mapped to, either the Category dimension, or Products (only if the Procure module is subscribed)
Accessing Dimension Page from Features Page
Once the Dimension has been activated, you can create individual values by accessing each Dimension’s page. The page can be either accessed from the Features page, or via the side menu.
Step 1: At ‘Settings’ select ‘Features’
This will direct you to the Features page for ADAM.
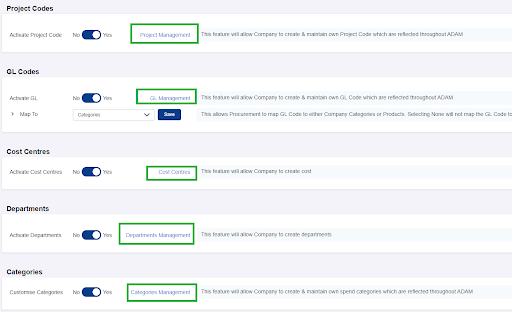
Step 2: Select the relevant Dimension Page
This will direct you to the specific Dimension’s Page
Accessing Dimension Page from Side Menu
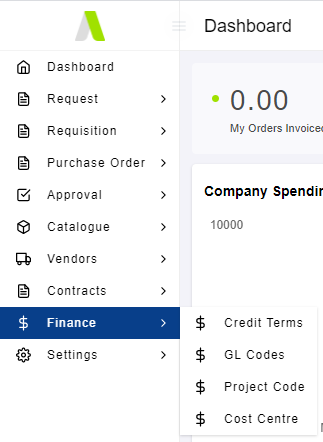
Step 1: Select the relevant side menu for each Dimension
The following dimensions in ADAM can be accessed directly from the side menus as below:-
At the Finance Side Menu:
GL Codes
Project Codes
Cost Centre
At the Settings:
Departments
Categories (via the Features page)
Step 2: Select the relevant Dimension
This will direct you to the specific Dimension’s page.
Creating an individual Dimensions Value
At each dimension’s page, you may create your Dimension Values in the following methods:
Creating an individual Dimension Value
Creating multiple Dimension Values via Bulk Upload
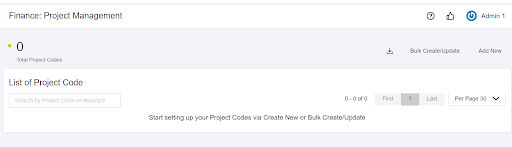
Step 1: Access the Dimension’s page as per the section above
This will list all current Values in ADAM
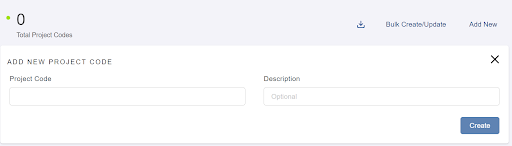
Step 2: Click on ‘Add New’
Step 3: Complete all fields
This will display the fields required to create a new Dimension Value
Step 4: Click on ‘Create’
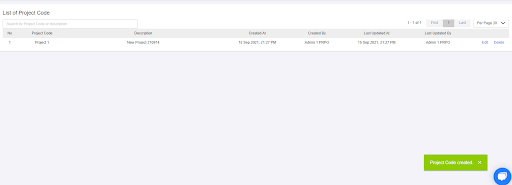
This will create the new Value in the table
Note: If any compulsory fields are incomplete, an error message will be displayed
Creating multiple Dimensions Values via Bulk Upload
Step 1: Access the Dimension’s page as per the section above
This will list all current Values in ADAM
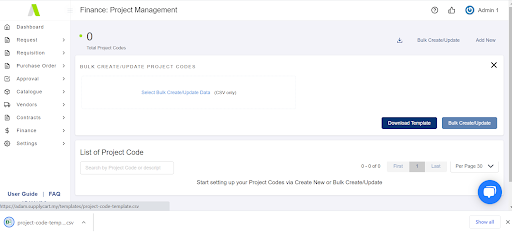
Step 2: Click on ‘Bulk Create/Update’
This will display the Bulk Update field
Step 3: Click on ‘Download Template’
This will download a CSV template
Step 4: Fill up the Template according to the columns shown
Step 5: Back in ADAM, click on ‘Select Bulk Create/Update Data (CSV only)’
Step 6: Click on ‘Bulk Create/Update’
This will create the new Value in the table
Note: Any discrepancy or blocker in the data will be displayed via an error message