Step 2: Identify the Advance Payment, under ‘Status’ click on status and select option ‘Closed’ from dropdown menu
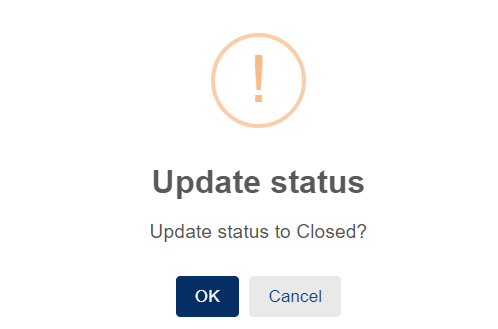
Step 3: Click ‘OK’ to update status
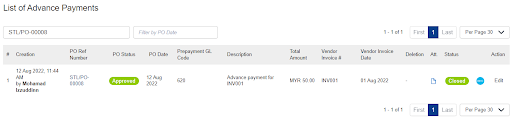
The Advance Payment will be updated with ‘Closed’ status
Deleting Advance Payments
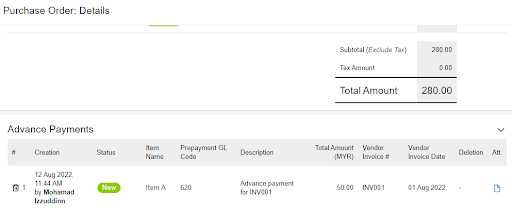
For Advance Payments that were mistakenly created, you may delete them via the PO Details page
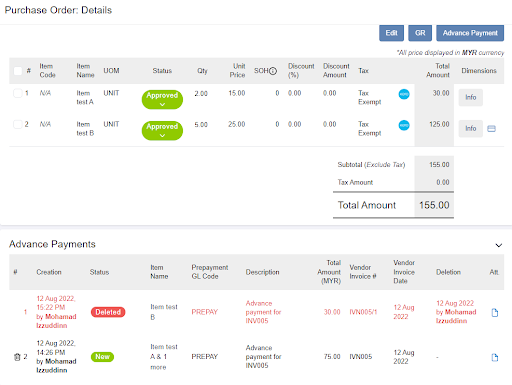
Step 1: Select the relevant PO
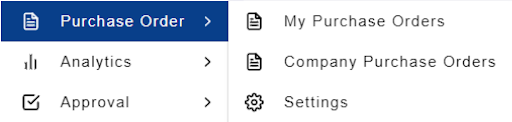
The PO can be accessed by any of the following pages:
‘Purchase Orders’ > ‘My Purchase Orders’
‘Purchase Orders’ > ‘Company Purchase Orders’
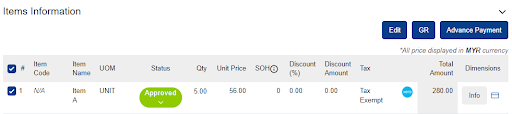
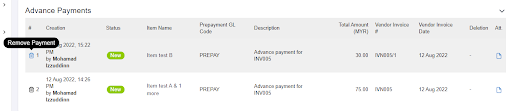
Step 2: Click on the bin icon to delete an Advance Payment entry
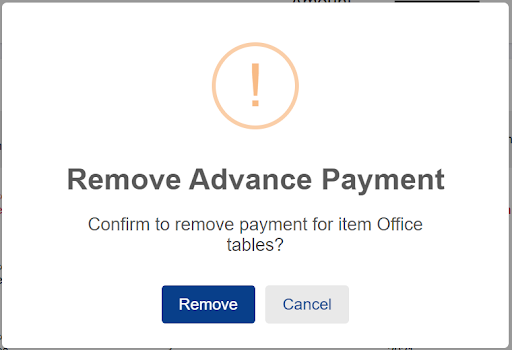
Step 3: Click ‘Remove’ to confirm the deletion
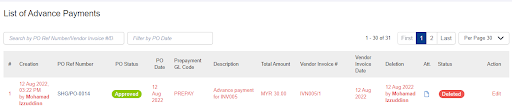
This will result in the entry being marked as ‘deleted’ at
1. The PO Details page
2. The Advance Payment page
Downloading Payable Transaction CSV
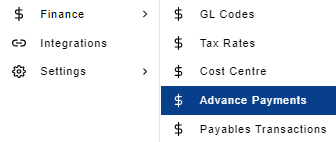
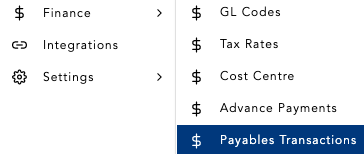
Upon closing Advance Payment entries in ADAM, it can then be downloaded for upload into your Accounting System via the ADAM > ‘Finance’ > ‘Payables Transaction’ page
Step 1: Under ‘Finance’, click ‘Payables Transactions'
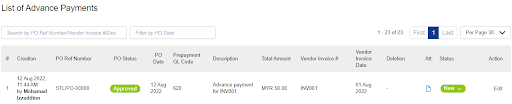
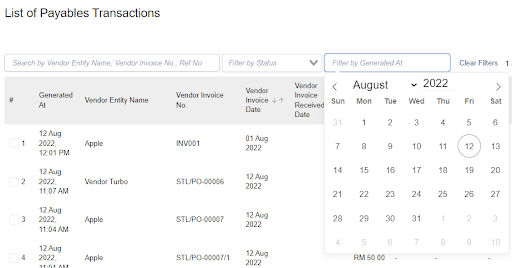
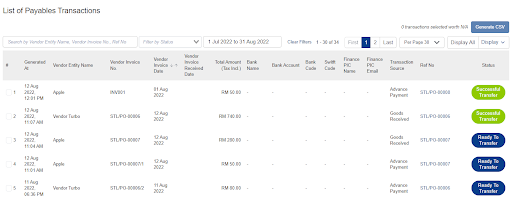
This will take you to a page displaying all Payable Transaction entries that have been “closed” previously.
Step 2: Search or Filter Payables Transaction
You may search by inputting vendor entity name, vendor invoice no. or reference no. in the search bar. Alternatively, you may also filter the list of Payables Transaction entries by the PO Date range
Step 3: Download the Payable Transaction CSV
Select the Payables Transaction that you would like to download into the CSV by clicking on the tick box
Note: Deleted entries will not be included in this CSV
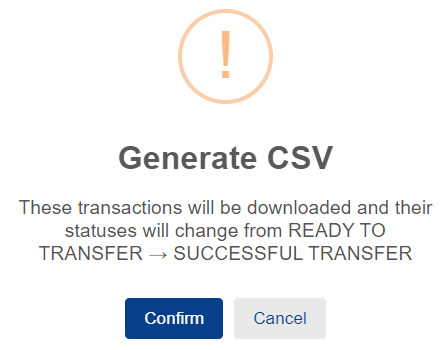
Click on ‘Generate CSV’
Click on ‘Confirm’ to generate the CSV
Once the CSV is generated, the Payables Transaction selected will be updated with ‘Successful Transfer’ status